SWR Fort Stanton 2012 Project Photos
The PREPARATION
Work Preparation on February 24-25, 2012
Back to the previous PLANNING page
back to the Fort Stanton Special Project Page
SWR Fort Stanton 2012 Project PhotosThe PREPARATIONWork Preparation on February 24-25, 2012Back to the previous PLANNING page back to the Fort Stanton Special Project Page |
Steve Peerman starts removal of the balusters. S. Fleming Photo.
|
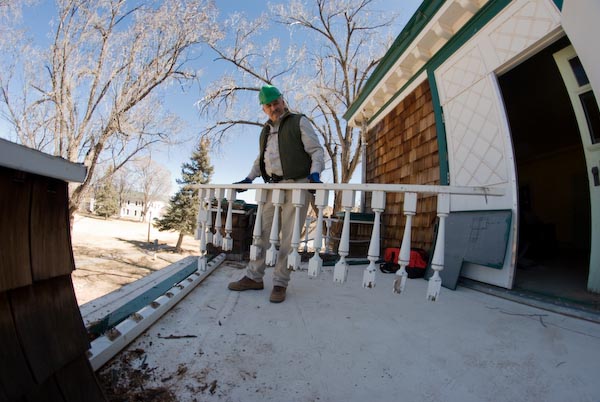
John Moses was able to remove this top rail with 90% of the balusters attached. P. Lindsley Photo. |
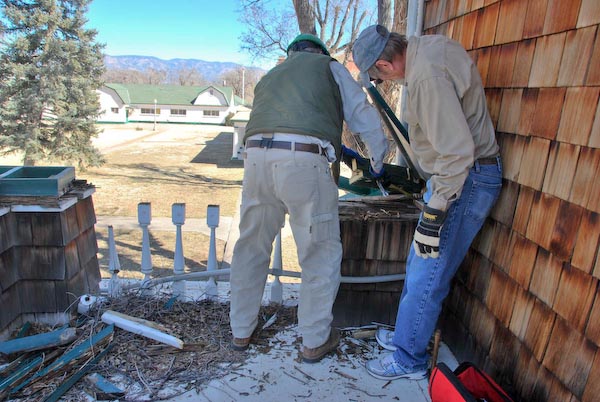
John and Steve disassemble one of the end connections, taking careful measurements for the rebuild. K. Lindsley Photo. |
||
The team has removed all the balusters and top rails before the sun hit the deck. (It was 23 Deg. early this morning.) S. Fleming Photo. |
Wayne keeps working while Karen takes pictures and John and Lynda enjoy the approaching sun. P. Lindsley Photo. |
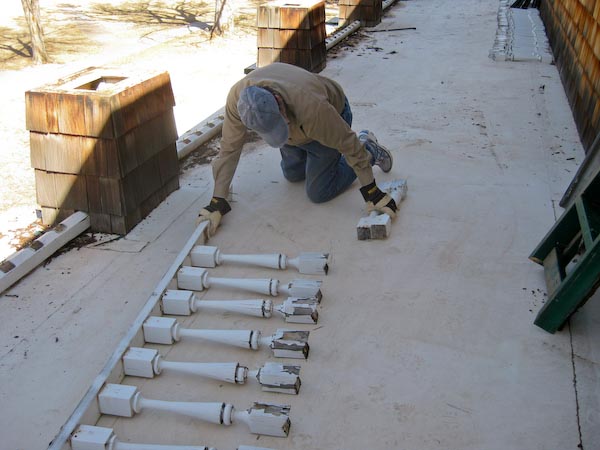
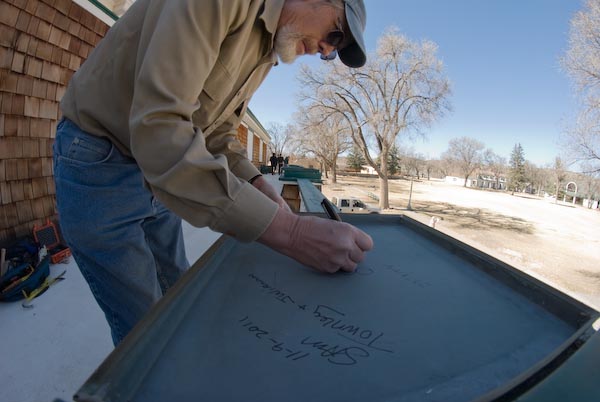
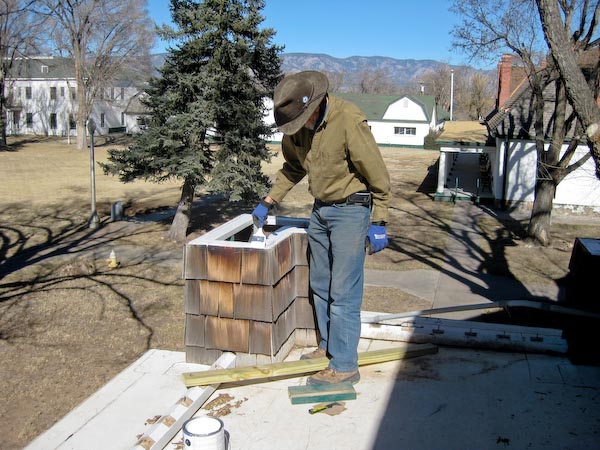
Steve is marking each metal top cap so that they can be placed back in the same position. P. Lindsley Photo. |
||
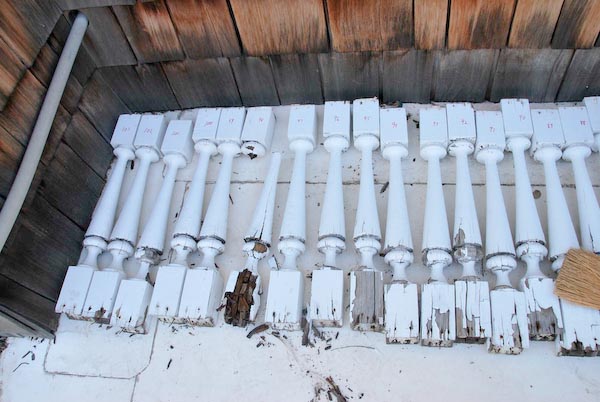
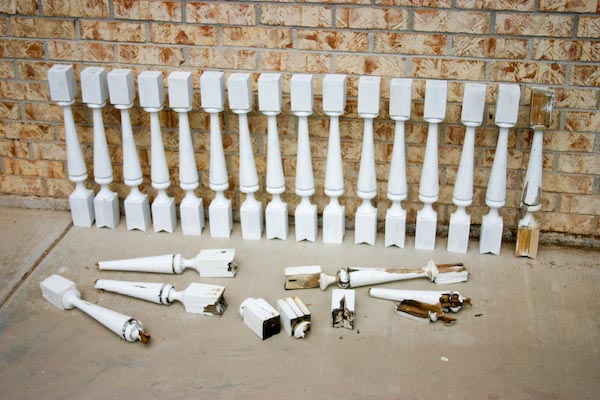
The balusters are all numbered and in order, ready for inspection. Most are ready for sanding but around 25% will be taken to Las Cruces for repair by Steve and Wayne. K. Lindsley Photo. |
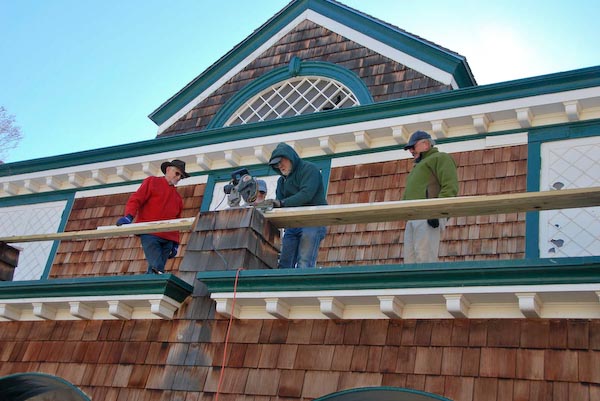
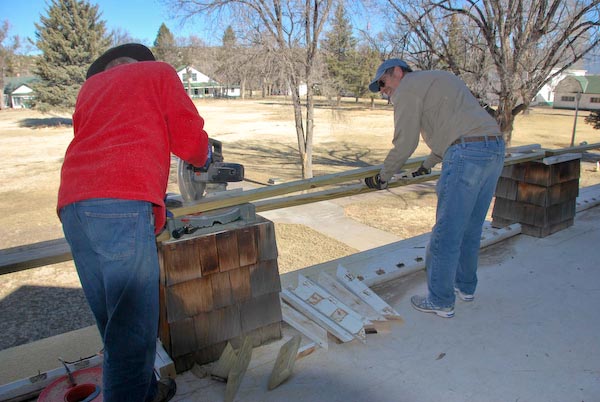
A miter saw was secured to one of the center posts and new lumber was set up as a temporary workbench. Pete, Wayne and John are building replacement top cap boards. K. Lindsley Photo. |
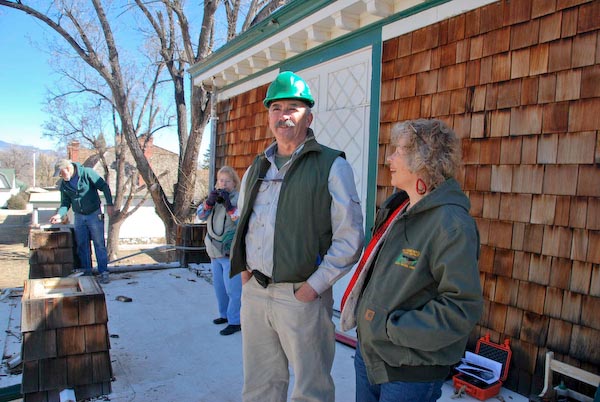
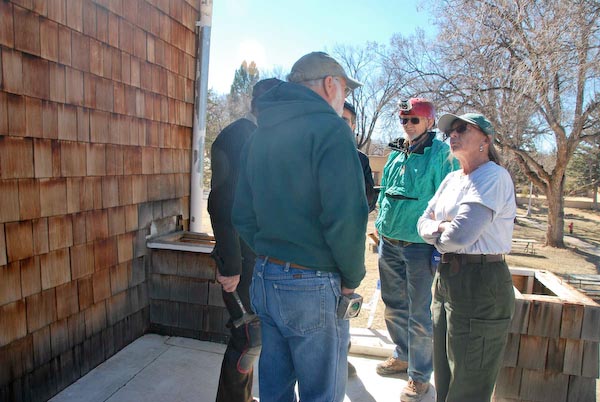
Bennie Long, Lincoln State Monument Ranger, stopped by to discuss additional materials needed for a quality job with Wayne, Pete and others. By using treated lumber and primer before painting, we expect the SWR restoration of these rails to last 20 years. K. Lindsley Photo.
|
||
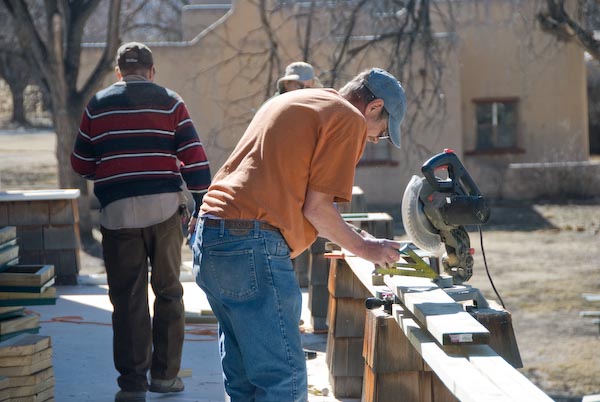
Pete makes a cut while Steve stabilizes a 10 foot 2x4 treated board. Some of the previous lumber was deemed adequate for some of the more protected locations after priming critical surfaces. K. Lindsley Photo.
|
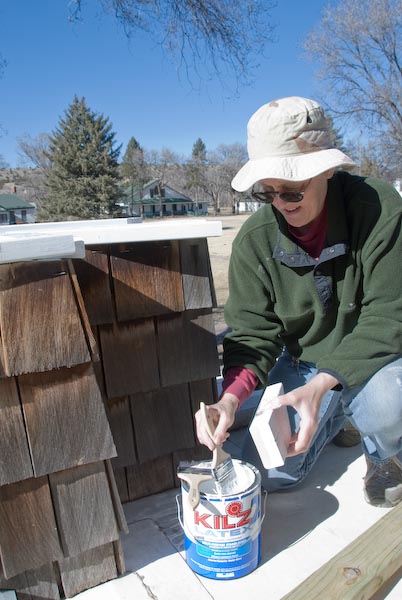
Karen and Peg start the priming operation after the sun has heated the wood sufficiently. K. Lindsley Camera. |
Wayne and Pete rebuilding one of the end cap areas. Deck screws were used to secure the new lumber and rebuilt sections. S. Fleming Photo. |
||
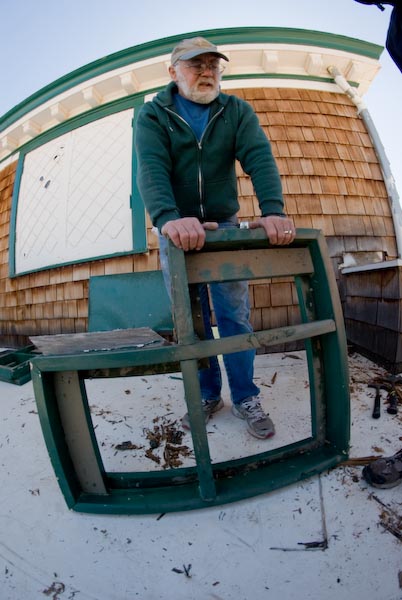
Wayne decides that this end cap spacer is too far gone and is preparing to rebuild it. P. Lindsley Photo |
A combination of rusty nails and rusty deck screws are evidence of the last time this railing was rebuilt, which we understand was around 1999. We are replacing all the spacer layers above this point. P. Lindsley Photo. |
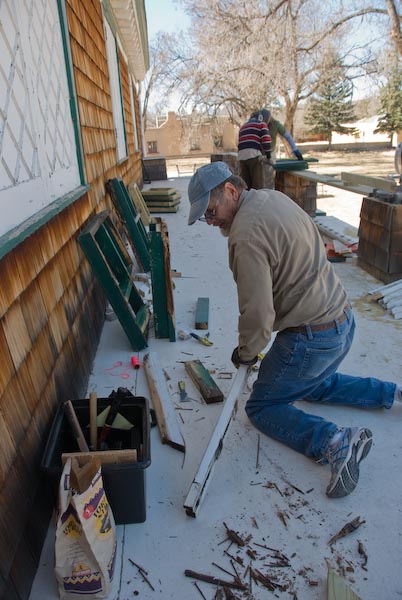 Steve hard at work pulling rusty nails out of usable 2x4 sections of a top rail. By selectively reusing the "good" wood to replace the previously hidden dry rot damage we expect to have sufficient wood for the project. P.Lindsley Photo. |
||
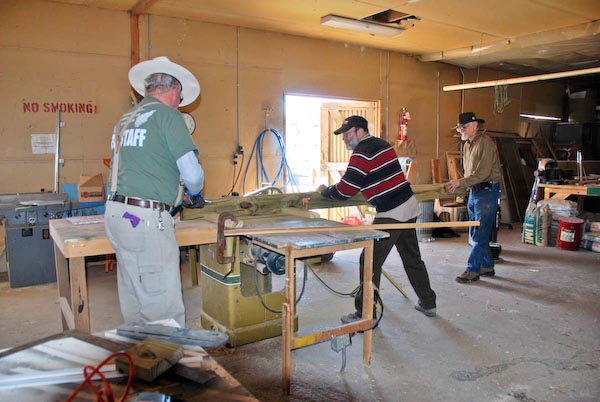 John, Stephen and Pete are carefully ripping eight of the 10 foot 2x6 sections of treated wood. By cutting a bevel on top of these top rail covers, we expect to minimize the effects of rain and snow in future years. K. Lindsley Photo. |
Stephen, Peg and Steve are fabricating one of the ten 2x6 spacer layers out of the new treated wood. Some of the spacers are unique sizes that must be cut to fit existing structure. P. Lindsley Photo. |
Once the sun hit the northern end cap, Pete applies a coat of primer to the old wood surface. Spacer layers will be screwed to the top as the top rail assemblies are positioned. S. Fleming Photo. |
||
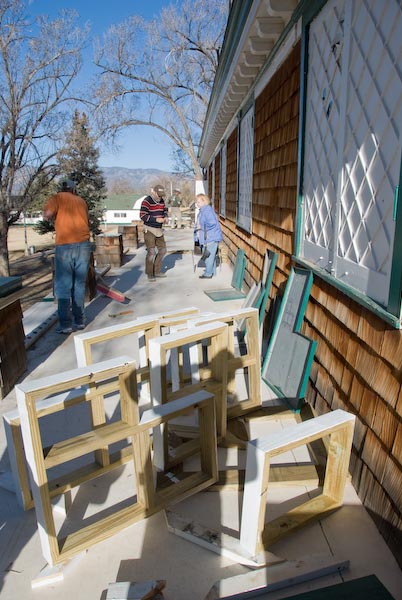
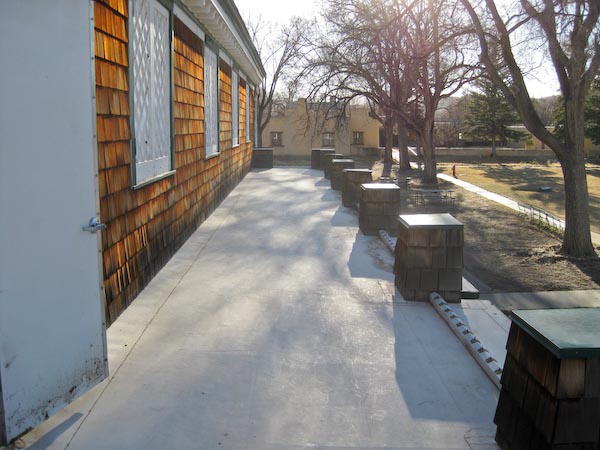
John prepares to move some of the reclaimed wood pieces after priming on the East side of the building. Most of these pieces will be screwed to the tops of the post assemblies. P. Lindsley Photo. |
Some of the team continues to fabricate wood pieces as others prime the new treated wood in the sun. Each metal top cap has been marked for position. P. Lindsley Photo. |
Peg concentrates on priming all the old wood on critical surfaces. Most of this wood will receive additional paint during the March 24th SW Regional meeting and work trip. P. Lindsley Photo. |
||
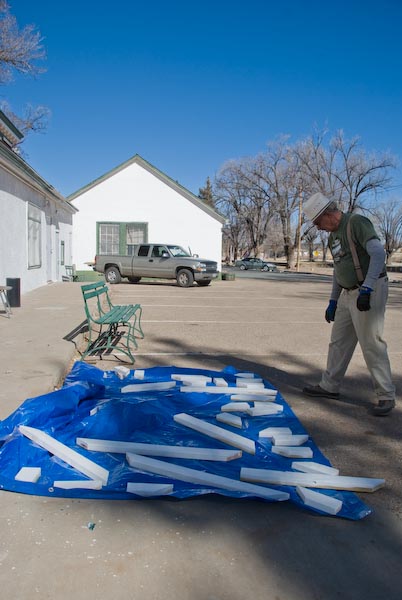
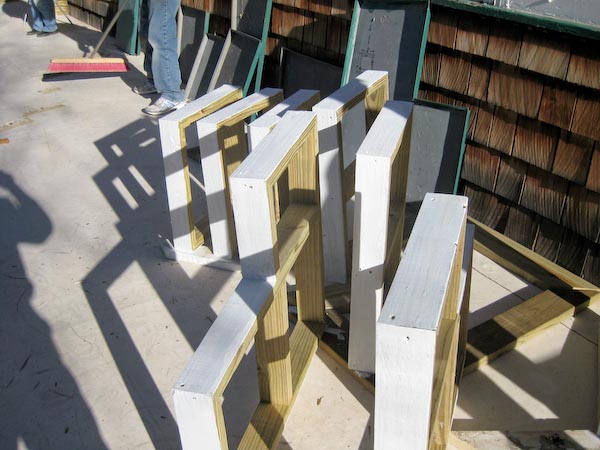
The newly primed treated wood will have about a month to dry out before the March 24th Regional when it will be installed in place and painted again. S. Fleming Photo. |
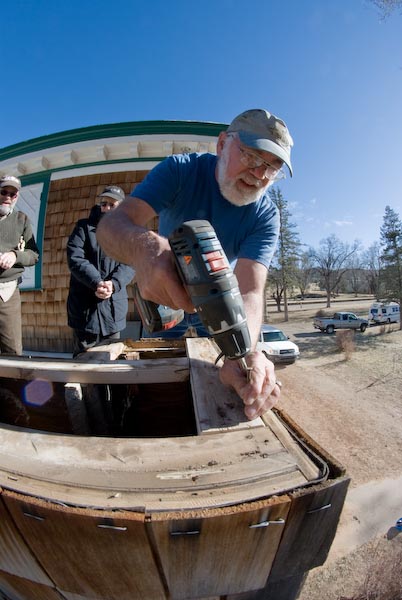
We replaced the metal caps on the 10 posts after the primer was dry. Approximately 120 balusters remain to be sanded, primed and painted before they can be attached to the top and bottom rails. Most of the remaining wood structure will be primed and painted on the ground prior to assembly on the deck. S. Fleming Photo. |
Either the parking lot to the rear of the building or the front side will be used to stage the refurbishing and assembly area. In case of rain, the area under the deck can be used. P. Lindsley Photo. |
||
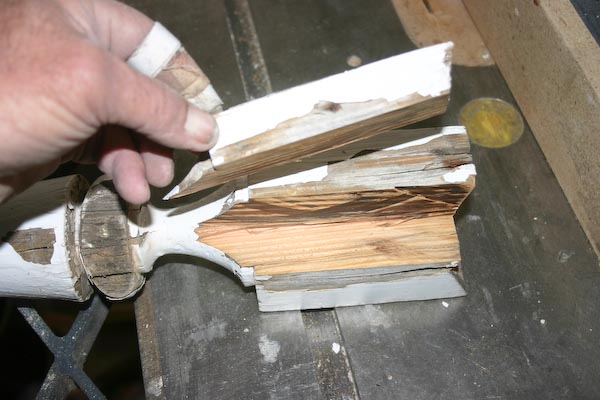
Since some of the balusters were "beyond repair" on site, approximately 20 were taken to Las Cruces where Wayne and Steve continued to rebuild the usable units with additional wood and glue. Many of the balusters had missing pieces from some of the cylindrical areas that had to be rebuilt. |
Wayne shows an example of the "V-Bottom" of one of the columns where it was possible to glue the parts back together. W. Walker Photo. |
Many of the repaired units have been primed and are leaning up against the brick wall to dry. Some of the other very rotten units are beyond repair and must be replaced with new units. W. Walker Photo. |
||
Rev. 5-24-2012 |
SWR pages maintained by Jennifer Foote and Pete Lindsley |